External Integration
![]()
Surety Maps
To be able to import data from Surety, you must first have a Surety account.
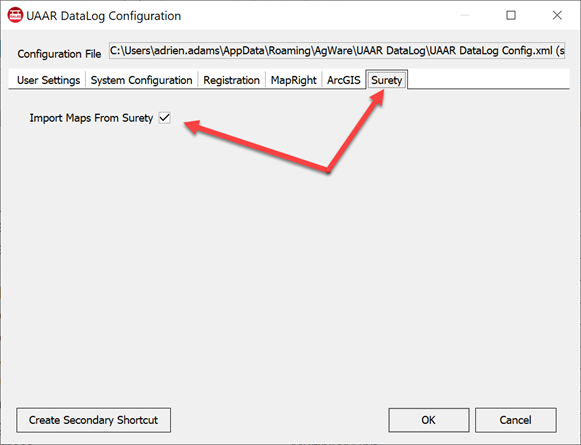
To enable Surety import, first navigate to the Edit→Configuration screen. Click the Surety tab and click the checkbox to enable Surety Maps.
Open your sale for editing or create a new sale.
|
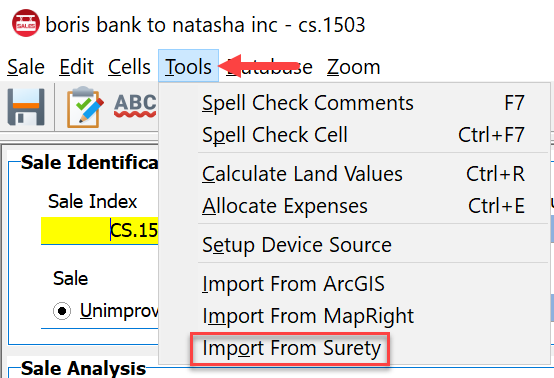
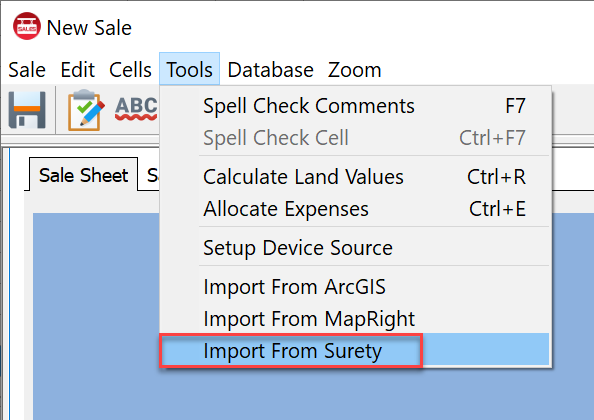
When you are ready to do the mapping, open a sale for editing and click Tools and then Import from Surety.
|
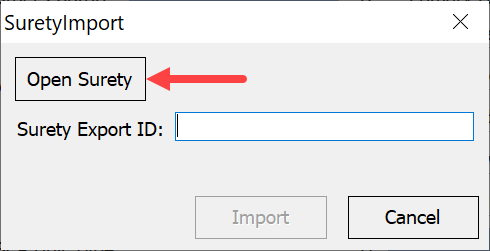
Click on Open Surety *Note - If this button is not clicked, the AgWare Export option will not be available in Surety. To add the AgWare option in Surety you can also follow this link https://www.agridatainc.com/Account/Login?partner=agware
|
|
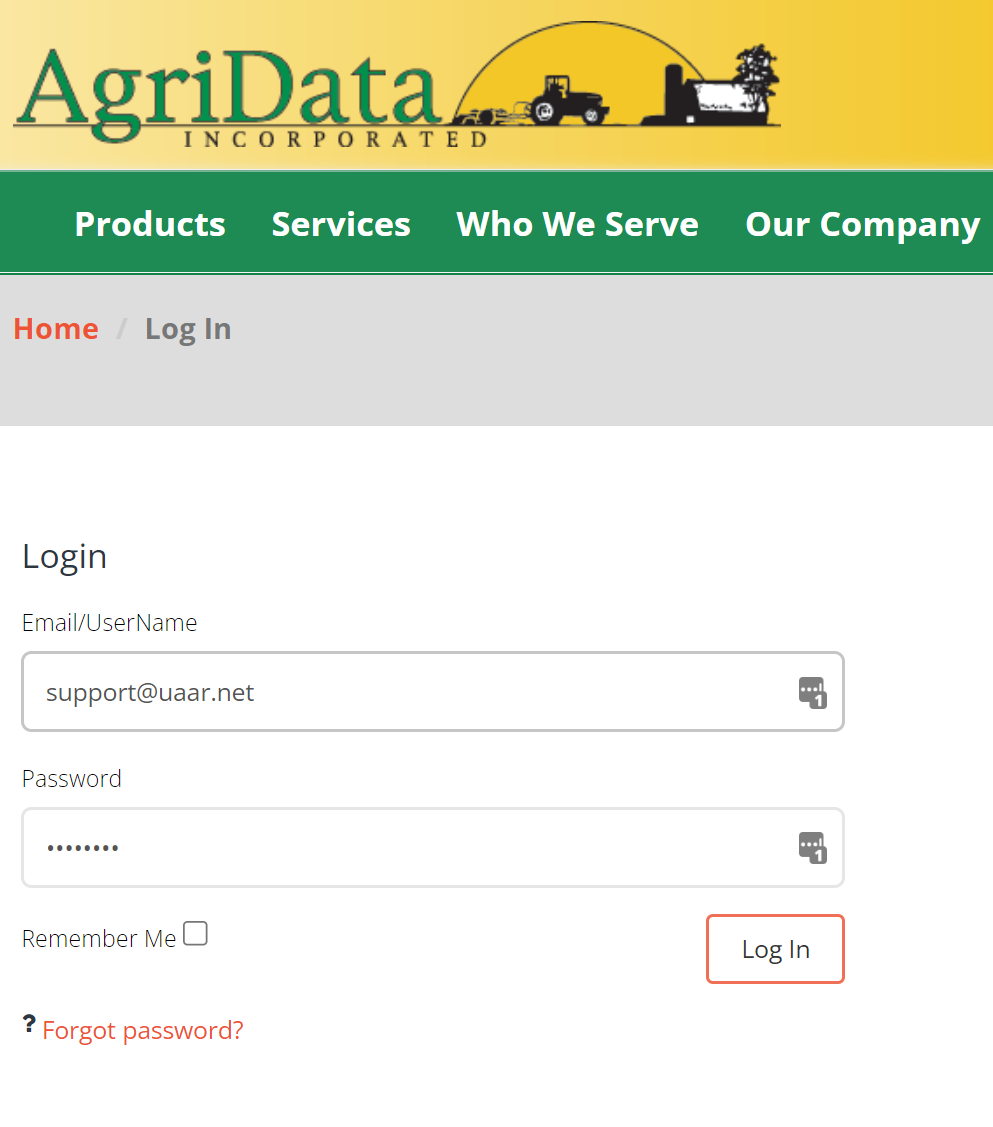
Log into the Surety account
|
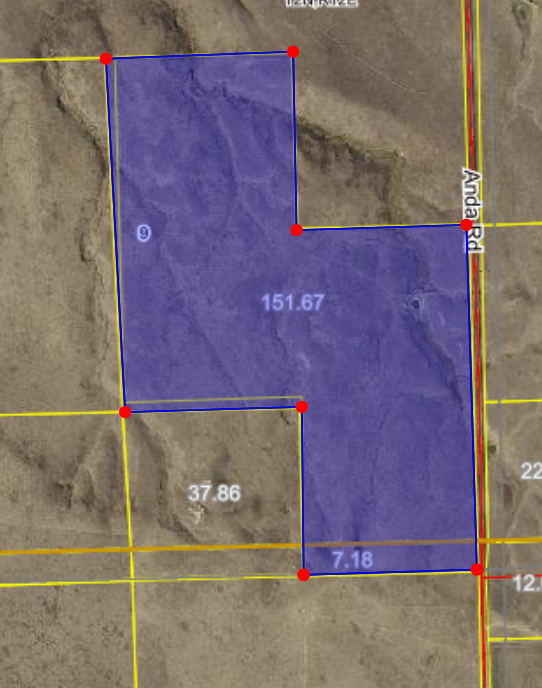
Zoom into the property and draw the boundary.
|
|
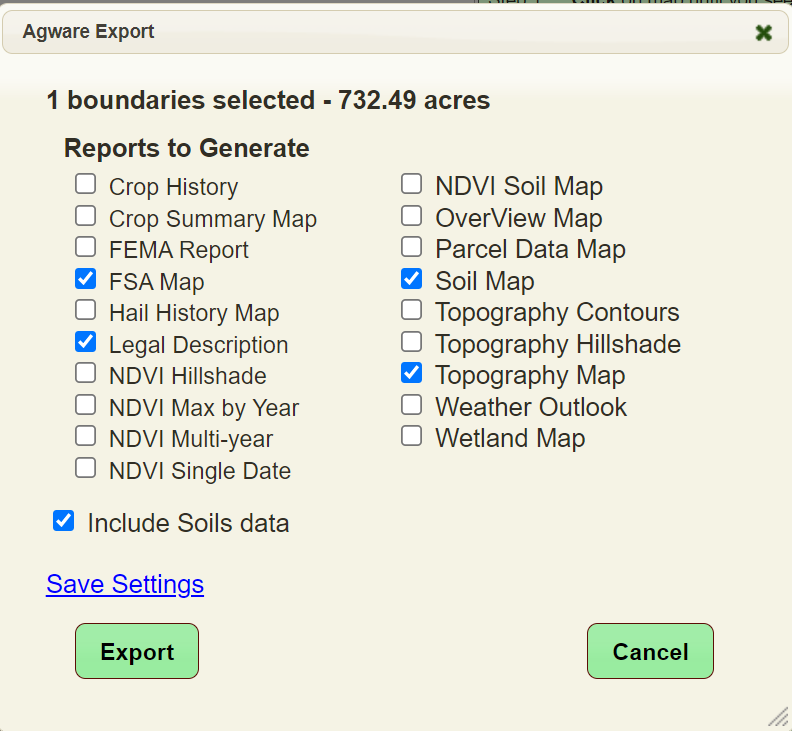
Once the boundary is drawn, select AgWare Export. If the button isn't in the list, open a sale and click Tools→Import from Surety and click Open Surety. This enables the link.
|
Select what you want to import into the sale and click export. *Note some features require a pro subscription.
|
|
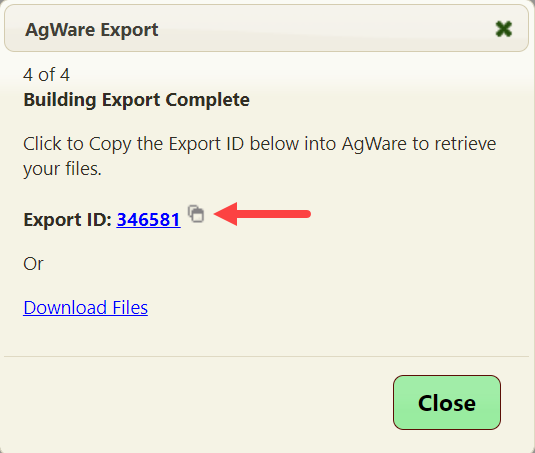
Surety will generate a number for you (This number is only valid for a few minutes and then will expire).
|
Click the number and it will be copied to your clipboard and a message will indicate that it has been copied.
|
|
In the DataLog sale write up, click tools import from Surety.
|
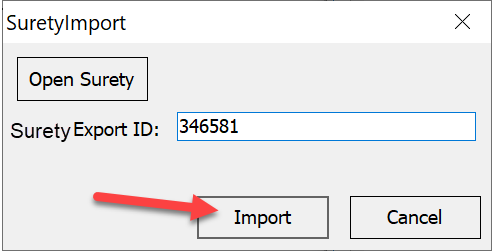
You will be presented with a SuretyImport dialog screen. Paste the number into the Surety Export ID and click Import.
|
|
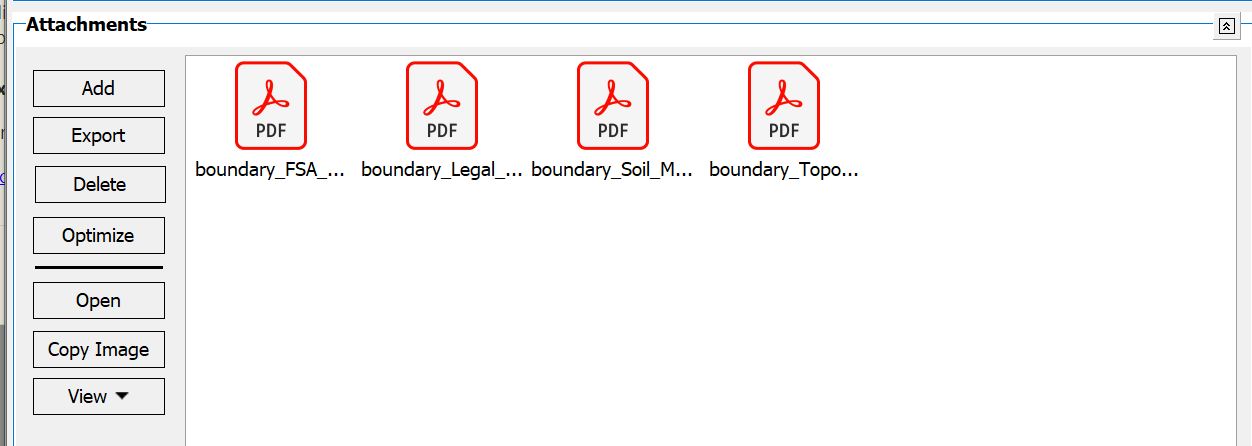
This will add the selected PDFs to the attachments section.
|
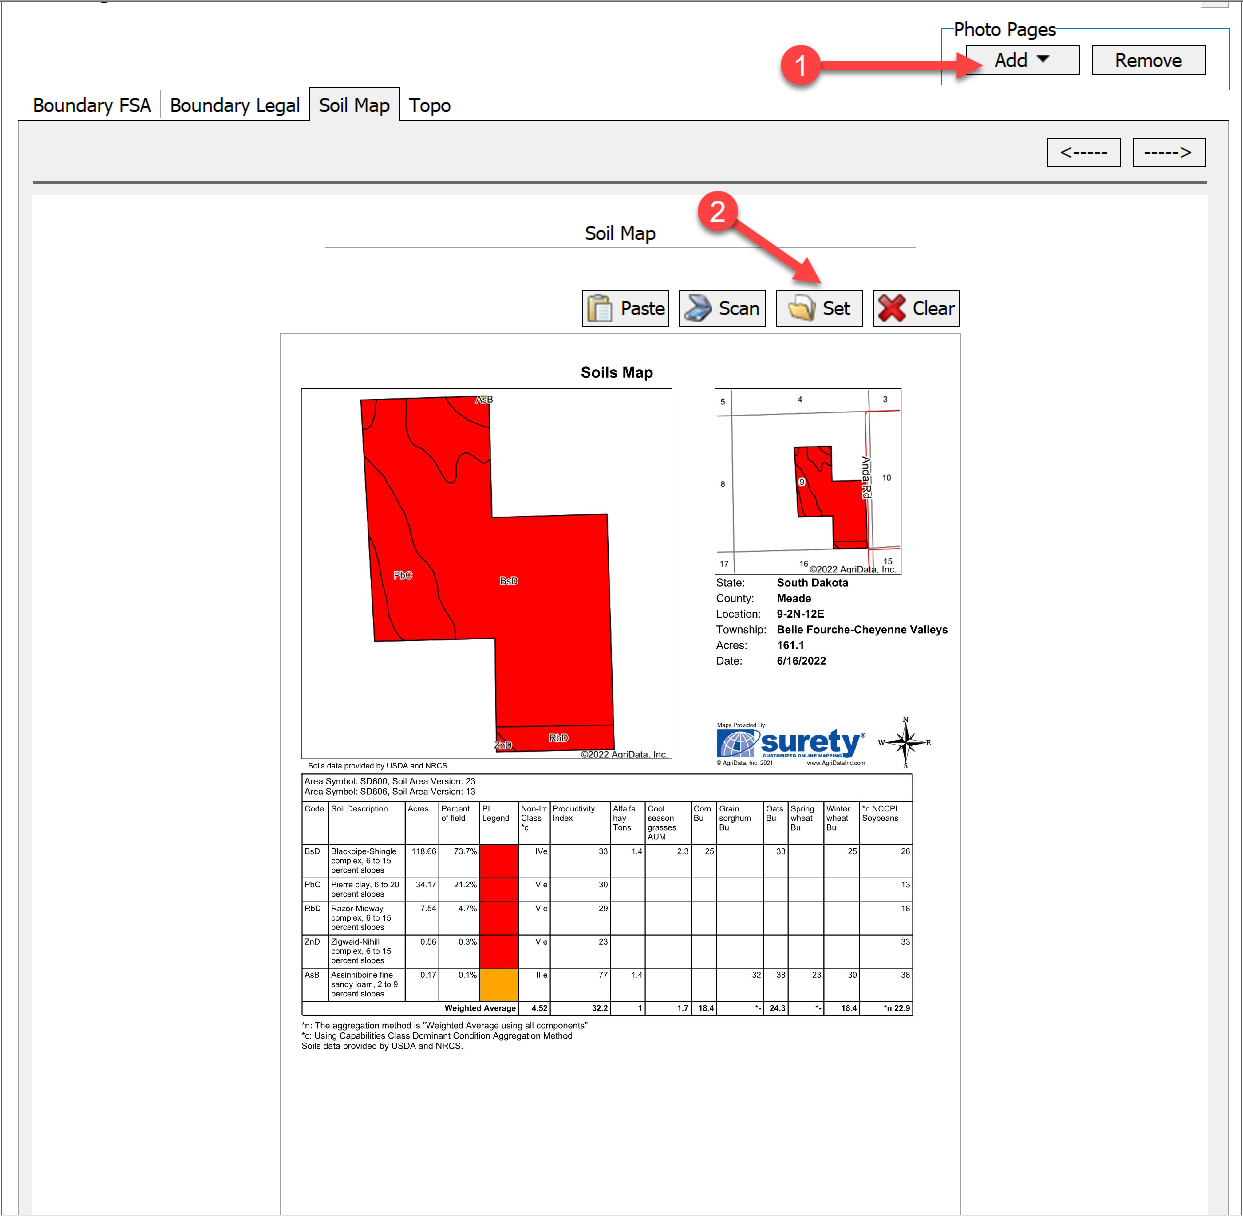
You can now add the attachments as photo pages in the photo pages section.
|


Land id Integration (Formerly MapRight)
To be able to import data from Land id, you must first have a map right account.
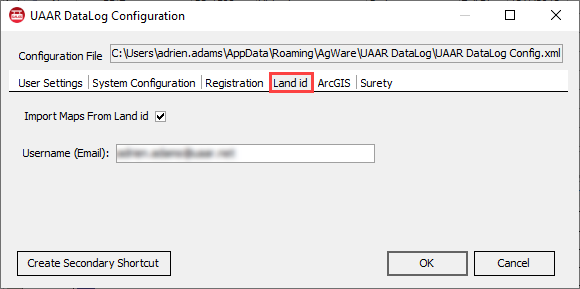
To enable Map Right support, first navigate to the configuration screen (Edit→Configuration). There you will find a Land id. tab, and you will need to fill in the username for Land id, which is typically the user's email, then check the Import from Land id box.
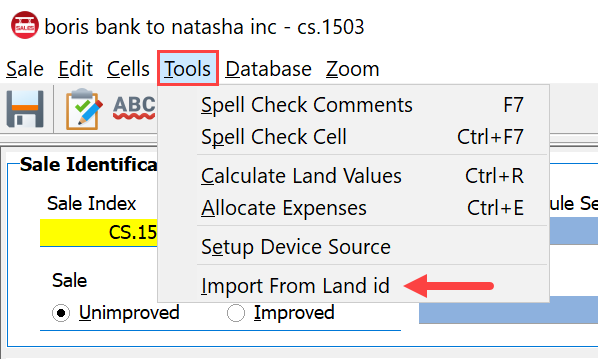
Now, open a sale and click the Tools menu. There should be an option for importing from Land id.
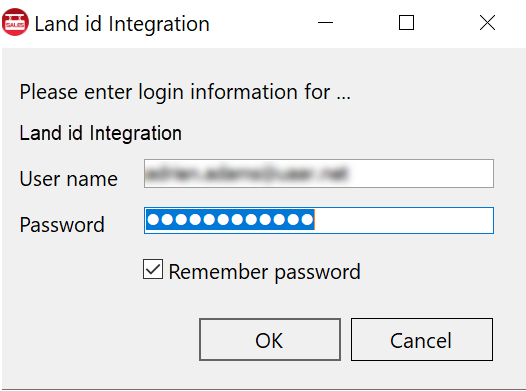
You will then be prompted to login. The username you filled in the configuration tab will be filled in here. This field is read only, so to change the username you must change it in the configuration tab. You also have the option to remember your password for future use.
Once successfully logged into Land id, you can now search for the map you want to import with the Land id. To get the Land id, Look in the URL bar and look for the ending numbers.

You have the option of importing either points or the boundaries (Polygons) but not both. You can also import other data that is available on Map Right if you filled it in. Things like State, County, Acres, Images, and a Soil Map. See comments below on the availability on this data. To get the Land id data, Look in the URL bar and look for the ending numbers.
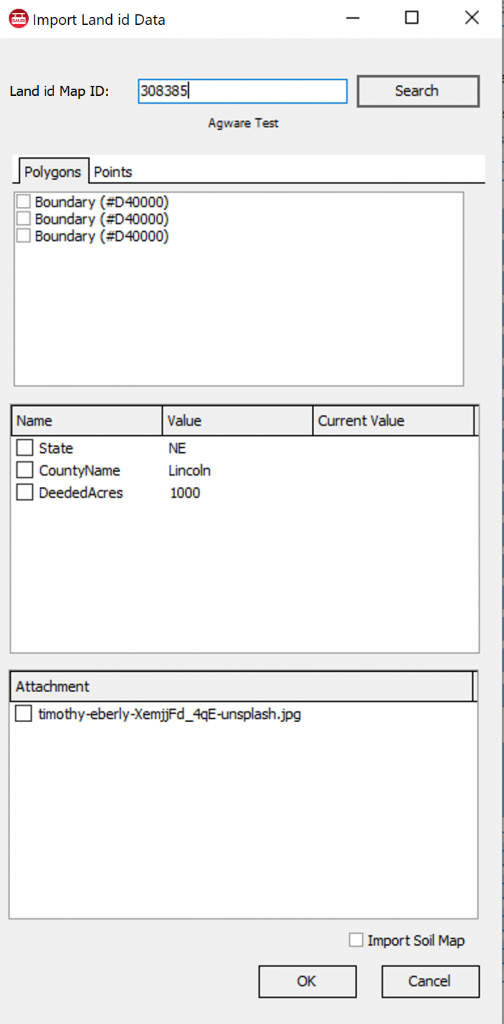
After clicking OK, then the selected data will be imported into the sale, overwriting what is there currently. If you imported any Mapping features, then DataLog should scroll you directly to the map.
Land id Comments:
To fill in the State, Acreage and County, you must click on the save in the lower left corner and select Save Options.
To Add a Image, you must drop a Photo Point and then click on the point and upload your Image.
To add a Soil Map, you must first have a boundary. Then under reports click on Create soil map. When the soil map is complete you must also print the soil map (Either PDF or PNG is fine, they are attached to sale). Note: Your map must be saved for the print option to appear.